FREE UK DELIVERY
On orders over £60 (Trade £95)
FREE UK DELIVERY
On orders over £60 (Trade £95)
Technical Knowledge
Experienced & Dedicated Staff
Trade Discounts
Register or login for trade prices
14 October 2016
Knowing how to repair or replace a sash window cord is extremely important for preserving the character of your home. Not only is replacing an entire window set more time consuming and expensive, it can needlessly remove a long standing fixture of the room. This guide from SD Hardware will give you the basics on how to replace sash window cord - what you’ll need, and what you should be wary of.
First, Decide on the Cord You Need
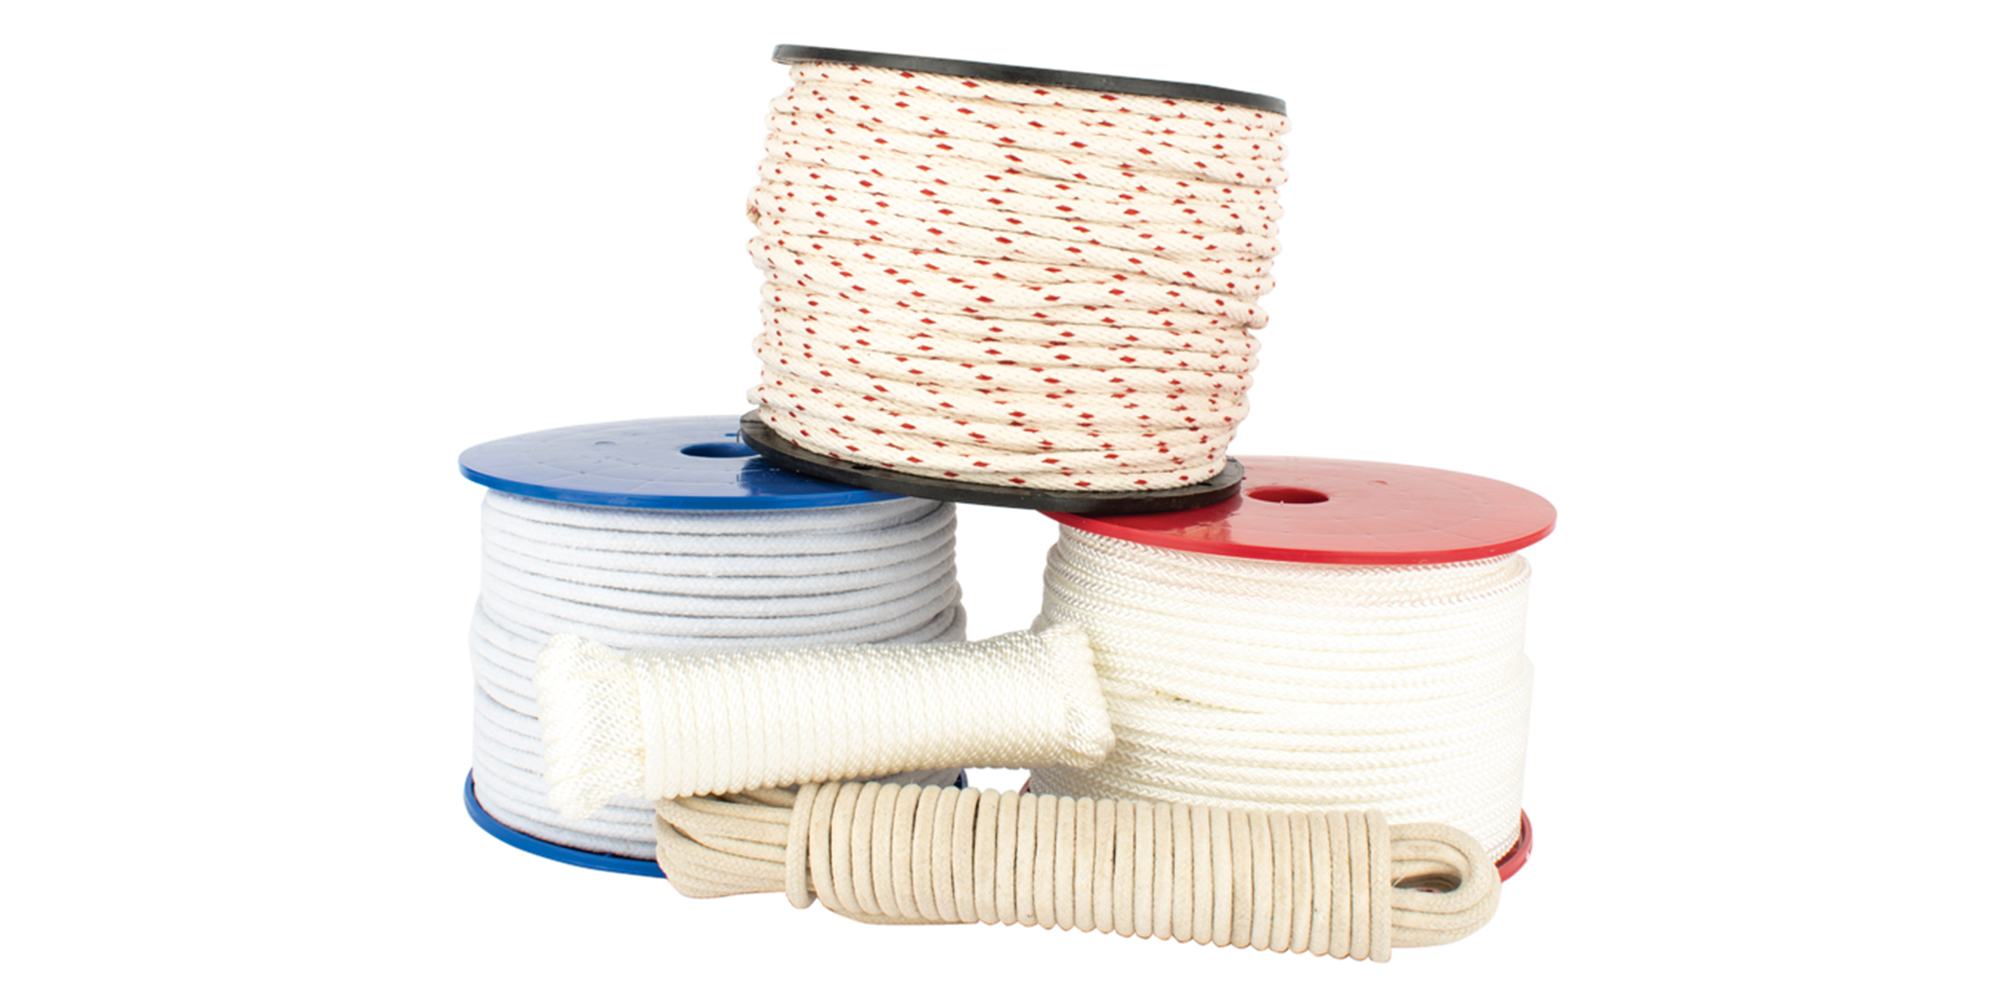
Sash Window Cords are available in a huge variety of materials, from natural organic cotton to waxed and unwaxed hemp. Needless to say, you’ll want the new cord to match as best as possible. Using a nylon roll, for example, can jam up in the pulley wheel, after which it can only be removed by cutting the cord.
Likewise, the diameter and length also need to stay the same. If you’re unsure, you can always take a piece of your existing cord to a specialist. Your sash is what will ultimately determine the length, and you can measure this yourself from the top of your window to the sill; adding about two-thirds and as much again for each length of cord. To access the sash window cords, remove the window and then open the panel cover on the side (if your window doesn’t have access panels, you’ll also need to remove the window casing).
Re-roping your sash window cord
The first step is to start feeding the cord through the pulleys. You may find the upper sash a little trickier to do than the lower - this is because the pulley needs to be in place before you begin (for when you install the weather stripping). String the upper cord through the first pulley, and grab it through by pulling through the other hole.
Once you’ve fed the cord through, cut off any excess length on the side channels, and tie a knot around the weight to securely hold it into place. Raise the sash back on its weight as you start to work below; the fact that it’s now attached means the whole thing will be help up out the way with screws. Slide the weights back into to the jam through the access panel.
Additional tips